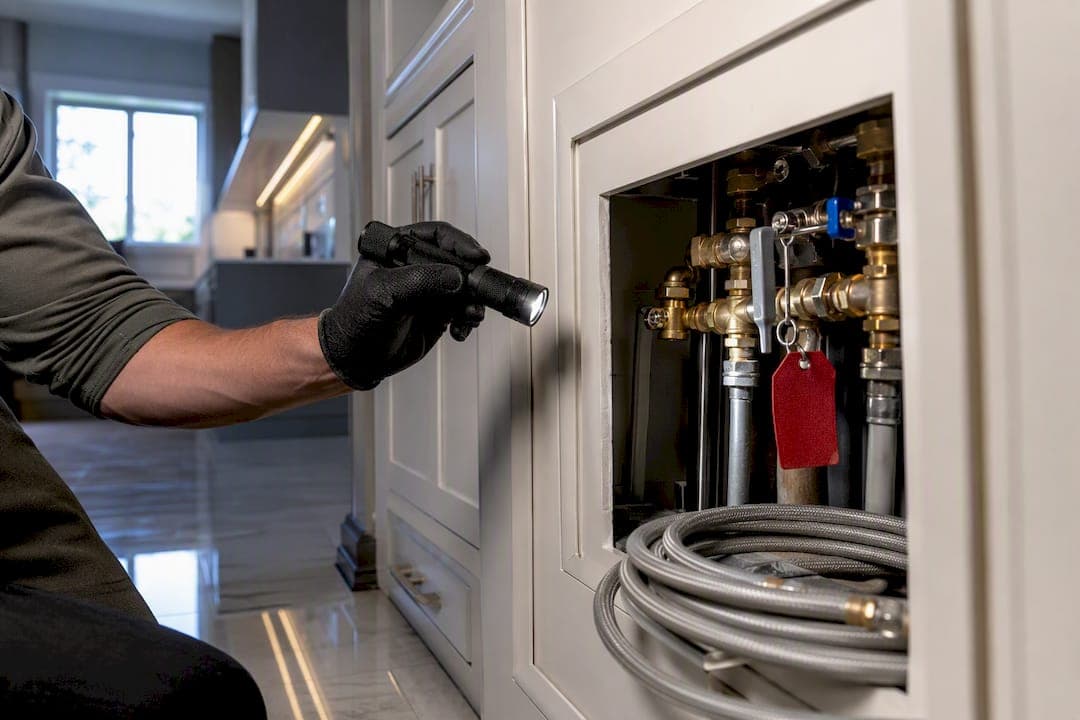
A pre-listing inspection is worth the money for most sellers, mainly because it hands you control over the negotiation instead of surrendering it to whatever a buyer's inspector finds three weeks into escrow. Expect to pay $250 to $700, spend 2 to 4 hours letting an inspector walk the property, and get a report back within 24 to 48 hours. Buyers can still order their own inspection anyway, so treat this as leverage, not a substitute.
TL;DR:
- A pre-listing inspection costs between $250 and $700 and typically takes 2 to 4 hours for a licensed inspector to complete.
- The scope is nearly identical to a buyer's inspection, covering the roof, foundation, HVAC, plumbing, electrical, moisture, and major appliances.
- Conducting an inspection early allows sellers to repair or disclose issues on their schedule, strengthening their market position and reducing renegotiations.
- It's especially valuable for homes older than 20 years or with unique systems, but unnecessary for new construction or fully renovated properties with existing documentation.
- Proper preparation and documentation of repairs, estimates, and disclosures can significantly influence negotiation strength and buyer trust.
Table of Contents
- What a Pre-Listing Inspection Covers vs. a Buyer's Inspection
- Cost, Timeline, and How to Hire the Right Inspector
- How Inspections Change Negotiations, Marketing, and Timing
- How to Prepare for the Inspection and Use the Report
- When a Pre-Listing Inspection Is Worth It (and When It Isn't)
- Stu Harvey's Take: Pre-Listing Inspections in the Luxury Market
- Reduce Surprises, Strengthen Your Offer Position
- How Stu Harvey Estates Coordinates Inspections, Repairs, and Disclosures
- Sources
What a Pre-Listing Inspection Covers vs. a Buyer's Inspection
The core difference is who orders it and when. A pre-listing inspection happens before you go on the market, and you own the report. A buyer's inspection happens during escrow, and the buyer's agent uses the findings to renegotiate price or demand repairs. Same clipboard, opposite leverage.
The scope is nearly identical either way. A licensed inspector walks the property and checks:
- Roof condition, flashing, and gutters
- Foundation and structural framing
- HVAC system age and function
- Plumbing supply lines, drains, and water heater
- Electrical panel, wiring, and outlets
- Moisture intrusion and mold risk
- Major appliances included in the sale
Most inspectors finish a standard single-family home in 2 to 4 hours on site, then deliver a digital report with photos and repair recommendations within a day or two. That turnaround matters because it gives you a real window to act before your listing photos go live.
Cost, Timeline, and How to Hire the Right Inspector
Budget $250 to $700 for a standard pre-listing inspection, with the final number driven by square footage, region, and any add-ons like mold or sewer scope testing. Larger homes and older properties tend to land at the higher end.
Credentials matter more than price here. Look for membership in InterNACHI or ASHI, plus state licensing where your state requires it. Both organizations publish member directories, so verifying a license number takes about five minutes.
Before you book, ask:
- How long have you been inspecting homes in this specific market?
- Do you carry errors and omissions insurance?
- Will the report include photos for every flagged item?
- Can you turn the report around within 48 hours?
Pro Tip: Ask for a sample report before you hire anyone. A vague, checkbox-style report is far less useful to buyers than one with photos, cost estimates, and clear severity ratings.
How Inspections Change Negotiations, Marketing, and Timing
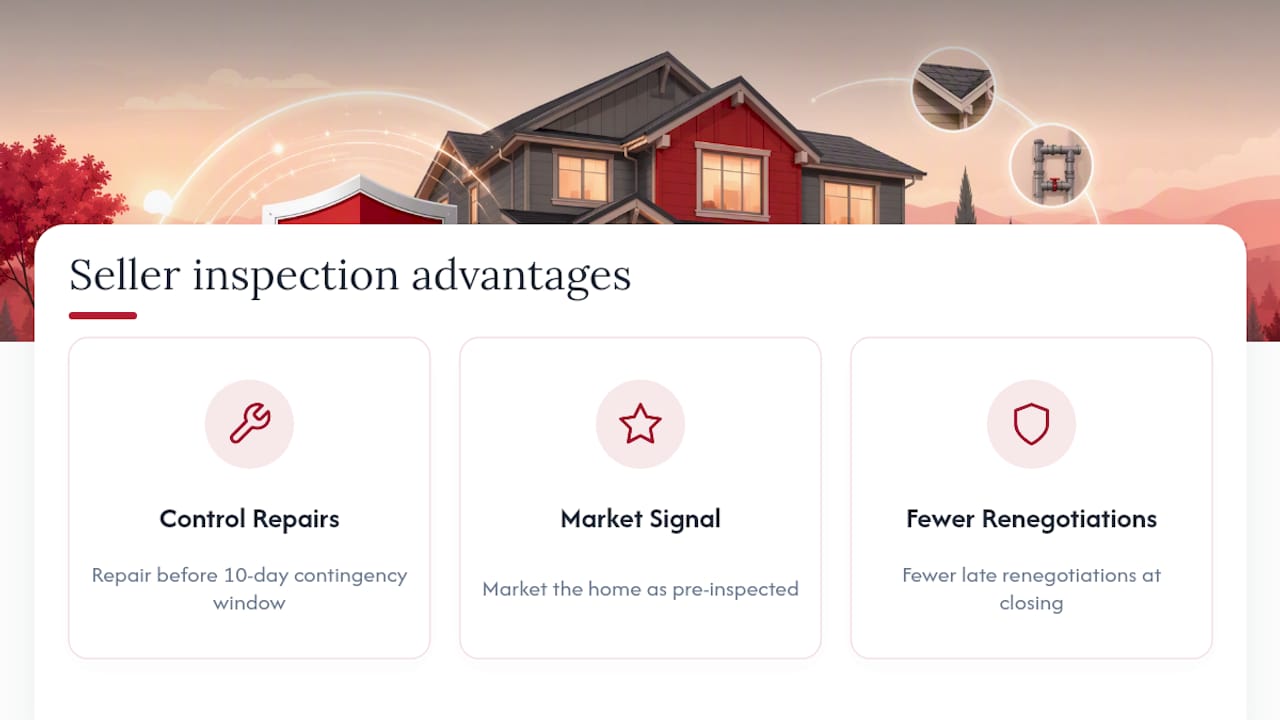
Sellers who inspect first get three concrete advantages. They control when and how repairs happen, instead of scrambling during a 10-day contingency window. They can market the home as "pre-inspected," which signals confidence to buyers browsing a crowded listing feed. And they run into fewer renegotiations, because there's no late surprise for a buyer's inspector to weaponize at the closing table.
Industry reporting from the National Association of Realtors notes that agents increasingly use pre-listing inspections specifically to prevent canceled contracts, because sellers who already know what's wrong can price around it or fix it before a buyer ever walks through.
The drawbacks are real, though. You pay out of pocket before you have a signed contract, with no guarantee the buyer cares about the report at all. In most states, once you know about a defect, you're required to disclose it, whether you fix it or not, so an inspection can create paperwork you didn't have before. And a seller's inspection doesn't replace a buyer's inspection; plenty of buyers will still hire their own inspector regardless of what you provide.
How to Prepare for the Inspection and Use the Report
Getting real value out of a pre-listing inspection depends less on the report itself and more on what you do with it. Here's the sequence that works.
- Clear access points. Unlock electrical panels, attic hatches, crawl spaces, and any storage blocking the water heater or HVAC unit.
- Leave utilities on. An inspector can't test a furnace or dishwasher if the power or water is shut off.
- Gather your paperwork. Pull together permits, warranty documents, and past repair receipts so the inspector can cross-reference known work.
- Triage the findings by severity. Sort issues into safety or financing risks (electrical hazards, active roof leaks, structural cracks) versus cosmetic items. Industry guidance consistently points sellers toward fixing the former and skipping low-return cosmetic repairs.
- Get contractor estimates on anything major. A written estimate does two things: it tells you whether to fix the item or offer a credit, and it becomes documentation you can hand a buyer.
- Decide: repair, credit, or disclose. Small, cheap fixes get repaired. Big-ticket items often make more sense as a price credit. Everything else goes into your disclosure packet.
- Document everything. Save receipts, warranty transfers, and before-and-after photos for every repair you make.
InterNACHI recommends sellers keep copies of the inspection report alongside repair receipts to hand prospective buyers. That packet does more to build trust than any listing description ever will, because it shows a buyer exactly what was wrong and exactly what you did about it.
Making repairs on your own schedule, rather than under contract-deadline pressure, also tends to cost less than emergency fixes ordered mid escrow, when you're negotiating with a contractor who knows you're stuck.
When a Pre-Listing Inspection Is Worth It (and When It Isn't)
Not every home needs one. Skip it if you're selling new construction still under a builder warranty, or a property you just fully renovated with permits and inspections already on file. In a red hot seller's market where homes go under contract in days, the marketing benefit shrinks too.
Get one if any of these apply:
- The home is older than 20 years or you don't have a full maintenance history
- You've owned the property less than a few years and inherited unknown issues
- Your local market has slowed, and buyers have leverage to walk away
- The home has unique systems (well, septic, solar, pool equipment) that benefit from specialist review
Practitioners commonly recommend scheduling the inspection three to six months before you list, which gives you room for contractor estimates, actual repair work, and a possible re-inspection if something turns up mid repair. And regardless of timing, check your state's disclosure statute before you decide what to fix versus what to disclose. That's a legal question worth a quick call to your agent or a local attorney, not a guess.
Stu Harvey's Take: Pre-Listing Inspections in the Luxury Market
I've spent more than 15 years selling homes across San Diego, Los Angeles, Orange County, and the rest of Southern California, closing over 250 luxury transactions and more than $1.2 billion in volume. On higher end listings, a pre-listing inspection isn't optional homework. It's part of how you protect a price point.
A $4 million buyer in La Jolla or Rancho Santa Fe expects a flawless paper trail. If your inspection turns up an aging roof or an outdated electrical panel, fix it with a licensed, insured contractor and keep every invoice. That documentation becomes part of your marketing story, not just your disclosure file.
My advice: schedule the inspection early, vet contractors the way you'd vet a listing agent, and build a concierge-style repair binder before your first showing. Buyers at this level pay for certainty as much as square footage.
Reduce Surprises, Strengthen Your Offer Position
The conventional advice on pre-listing inspections stops at "get one, fix stuff, disclose the rest." That's not wrong, but it undersells what the report is actually for. The real value isn't the inspection itself, it's what you do with the findings in the 90 days before you list.
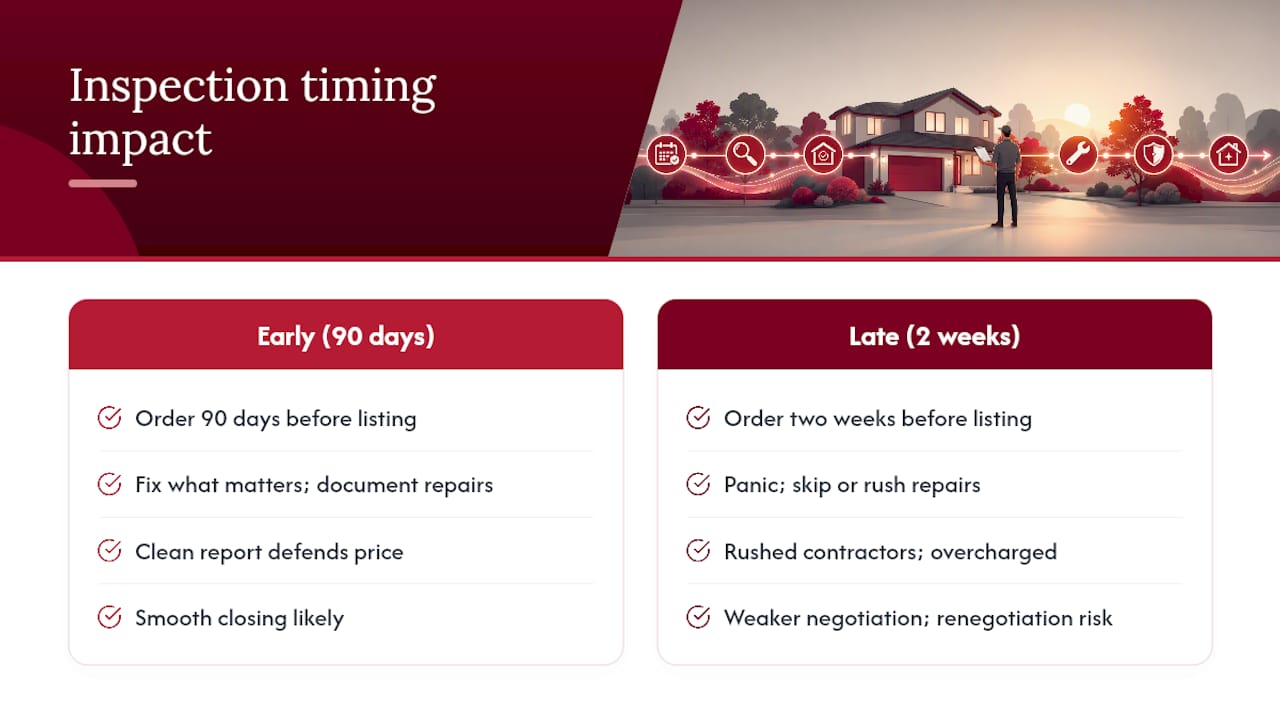
Most sellers treat the report as a to-do list. The sharper move is treating it as a pricing and marketing document. A clean report with documented repairs lets you defend your asking price when a buyer's own inspector shows up later with a competing narrative. Without that paper trail, you're negotiating from a weaker position even if the home is genuinely in good shape.
Where sellers get this wrong most often is timing. They order the inspection two weeks before listing, panic at the findings, and either skip repairs entirely or rush a contractor who overcharges for speed. Order it early. Give yourself room to fix what matters and document what you fixed. That single habit separates a smooth closing from a renegotiated one.
— Stu Harvey
How Stu Harvey Estates Coordinates Inspections, Repairs, and Disclosures
A dedicated real estate team can provide sellers a single point of contact to help manage repair timelines and disclosure packets throughout the closing process in coastal markets.

This involves coordinating inspectors and contractors, advising on how to handle inspection findings, and assembling disclosure documentation buyers expect on premium listings. Sellers in Coronado and comparable neighborhoods often see inspection findings weighed directly against local price benchmarks, since a buyer paying a premium for the area expects the paperwork to match. For coastal properties, permit history matters just as much as the inspection report itself, which is where documentation for coastal development requirements comes into play.
If you're preparing to list in San Diego, Los Angeles, Orange County, or the surrounding coastal markets, start with a seller consultation through the Stu Harvey seller resources page or browse current listings to see how comparable homes are positioned before you schedule your own inspection.
Sources
- Agents turn to pre-listing inspections to prevent canceled contracts
- Before You Sell: 6 Reasons to Get a Pre-Listing Inspection
- Seller's Pre-Listing Inspection - InterNACHI®